Continuous Integration using Bitbucket and Gradle

In this article I will share my experience on creating a Continuous Integration pipeline for a Gradle project using Bitbucket, Snyk, SonarCloud, Postman and Heroku. In my previous post I wrote about what CI/CD is and why it is a very important practice. Please read that article as well if you have any doubts that you need a continuous integration pipeline.
Pipeline structure
There is no particular reason why I chose Bitbucket. I've used Travis CI, GitHub and Jenkins quite extensively before. This time I wanted to try something new.
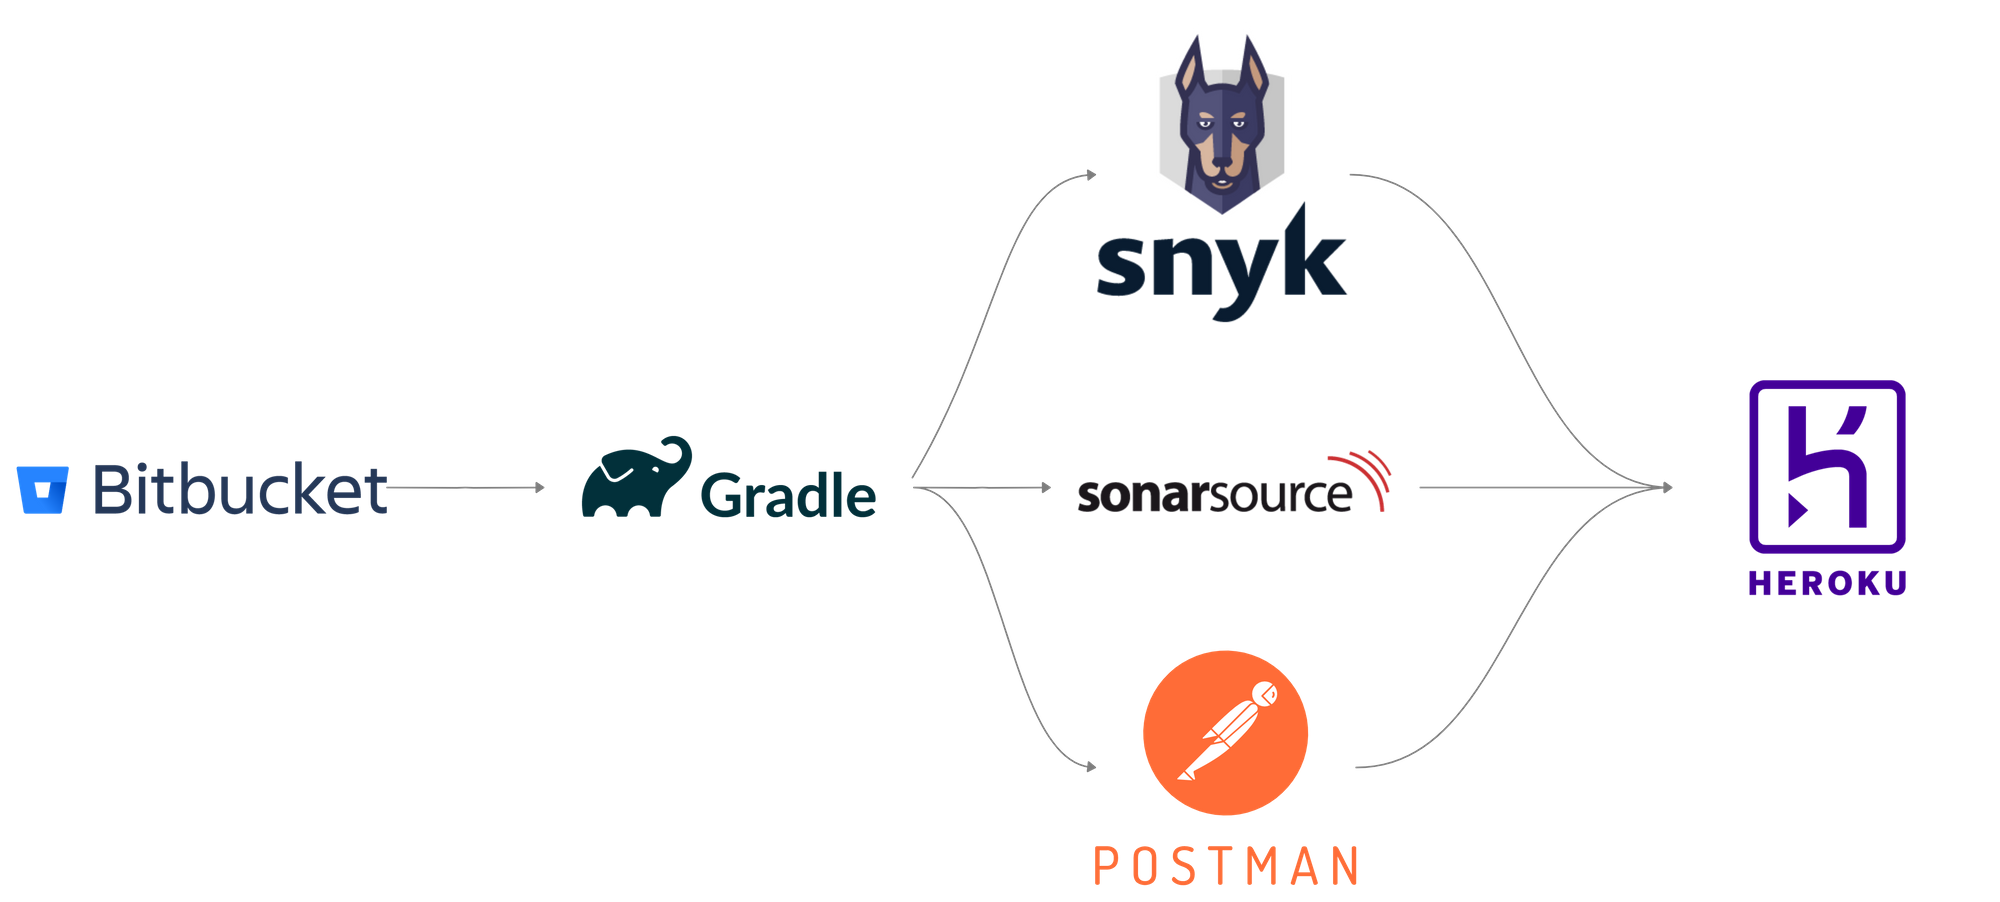
I use a very simple Spring Boot application as a sample project. The goal the pipeline is to cover a necessary set of checks to consider the application ready to be released or deployed. This is the set of steps the pipeline contains and the tools used for each step:
- Build - Gradle
- Unit and integration tests - JUnit 5
- Test coverage - JaCoCo
- Security vulnerabilities in dependencies - Snyk
- Static and security code analysis - SonarCloud
- Deployment for the purpose of testing - Heroku
- End-to-end tests - Postman